Dollar for dollar, installing a polythene groundsheet (also called a moisture barrier or vapour barrier) is one of the best things you can do to improve the health and comfort of your home. By putting a cap on rising damp you can lower the moisture level in your home, which will reduce condensation and mould, as well as make the air feel more comfortable and the home easier to heat. If you do it yourself, the cost will come in just over one dollar per square metre.
Ground Moisture Barriers – A Guide to Installation
Step One: Measure and Buy
Once you know the size of your home in square metres, purchase that much heavy duty builder’s polythene (no less than 0.25 mm thick) plus 10%-20% to account for overlaps and wastage.
Tip: polythene is folded at the factory and then rolled. In most cases, if you buy rolls that unfold to two metres rather than four metres the installation process will be easier. If you buy four metre wide rolls it may be easier to cut the polythene strips in half to make it more manageable under the house.
Buy enough rolls of 50mm wide polythene tape to tape the joins and around all piles. You’ll also need a Stanley knife or scissors for cutting the polythene and tape.
 Step Two: Planning
Most piles are spaced @ 1.3 metres centres in rows approximately 1.8 to 2.0 metres apart. It is generally easier to lay the polythene along the bays between the pile rows (parallel with the bearers), so work out which way the rows run, this will determine if you are laying the polythene across or along the building length. Measure the distance between the foundation walls and add 150mm. This is the length you need to cut the polythene strips to; you need to allow the ends of the sheets to run up onto the perimeter foundation wall by at least 50mm. It is generally easier to cut the lengths outside before taking them under the house, so remember the old builders saying “measure twice and cut once”!
Step Three: Roll it Out
Tip: a small builder’s apron will help you keep track of your blade and rolls of tape while under the house. Start at the end of the house further rest away from the access point and work your way back to that point.
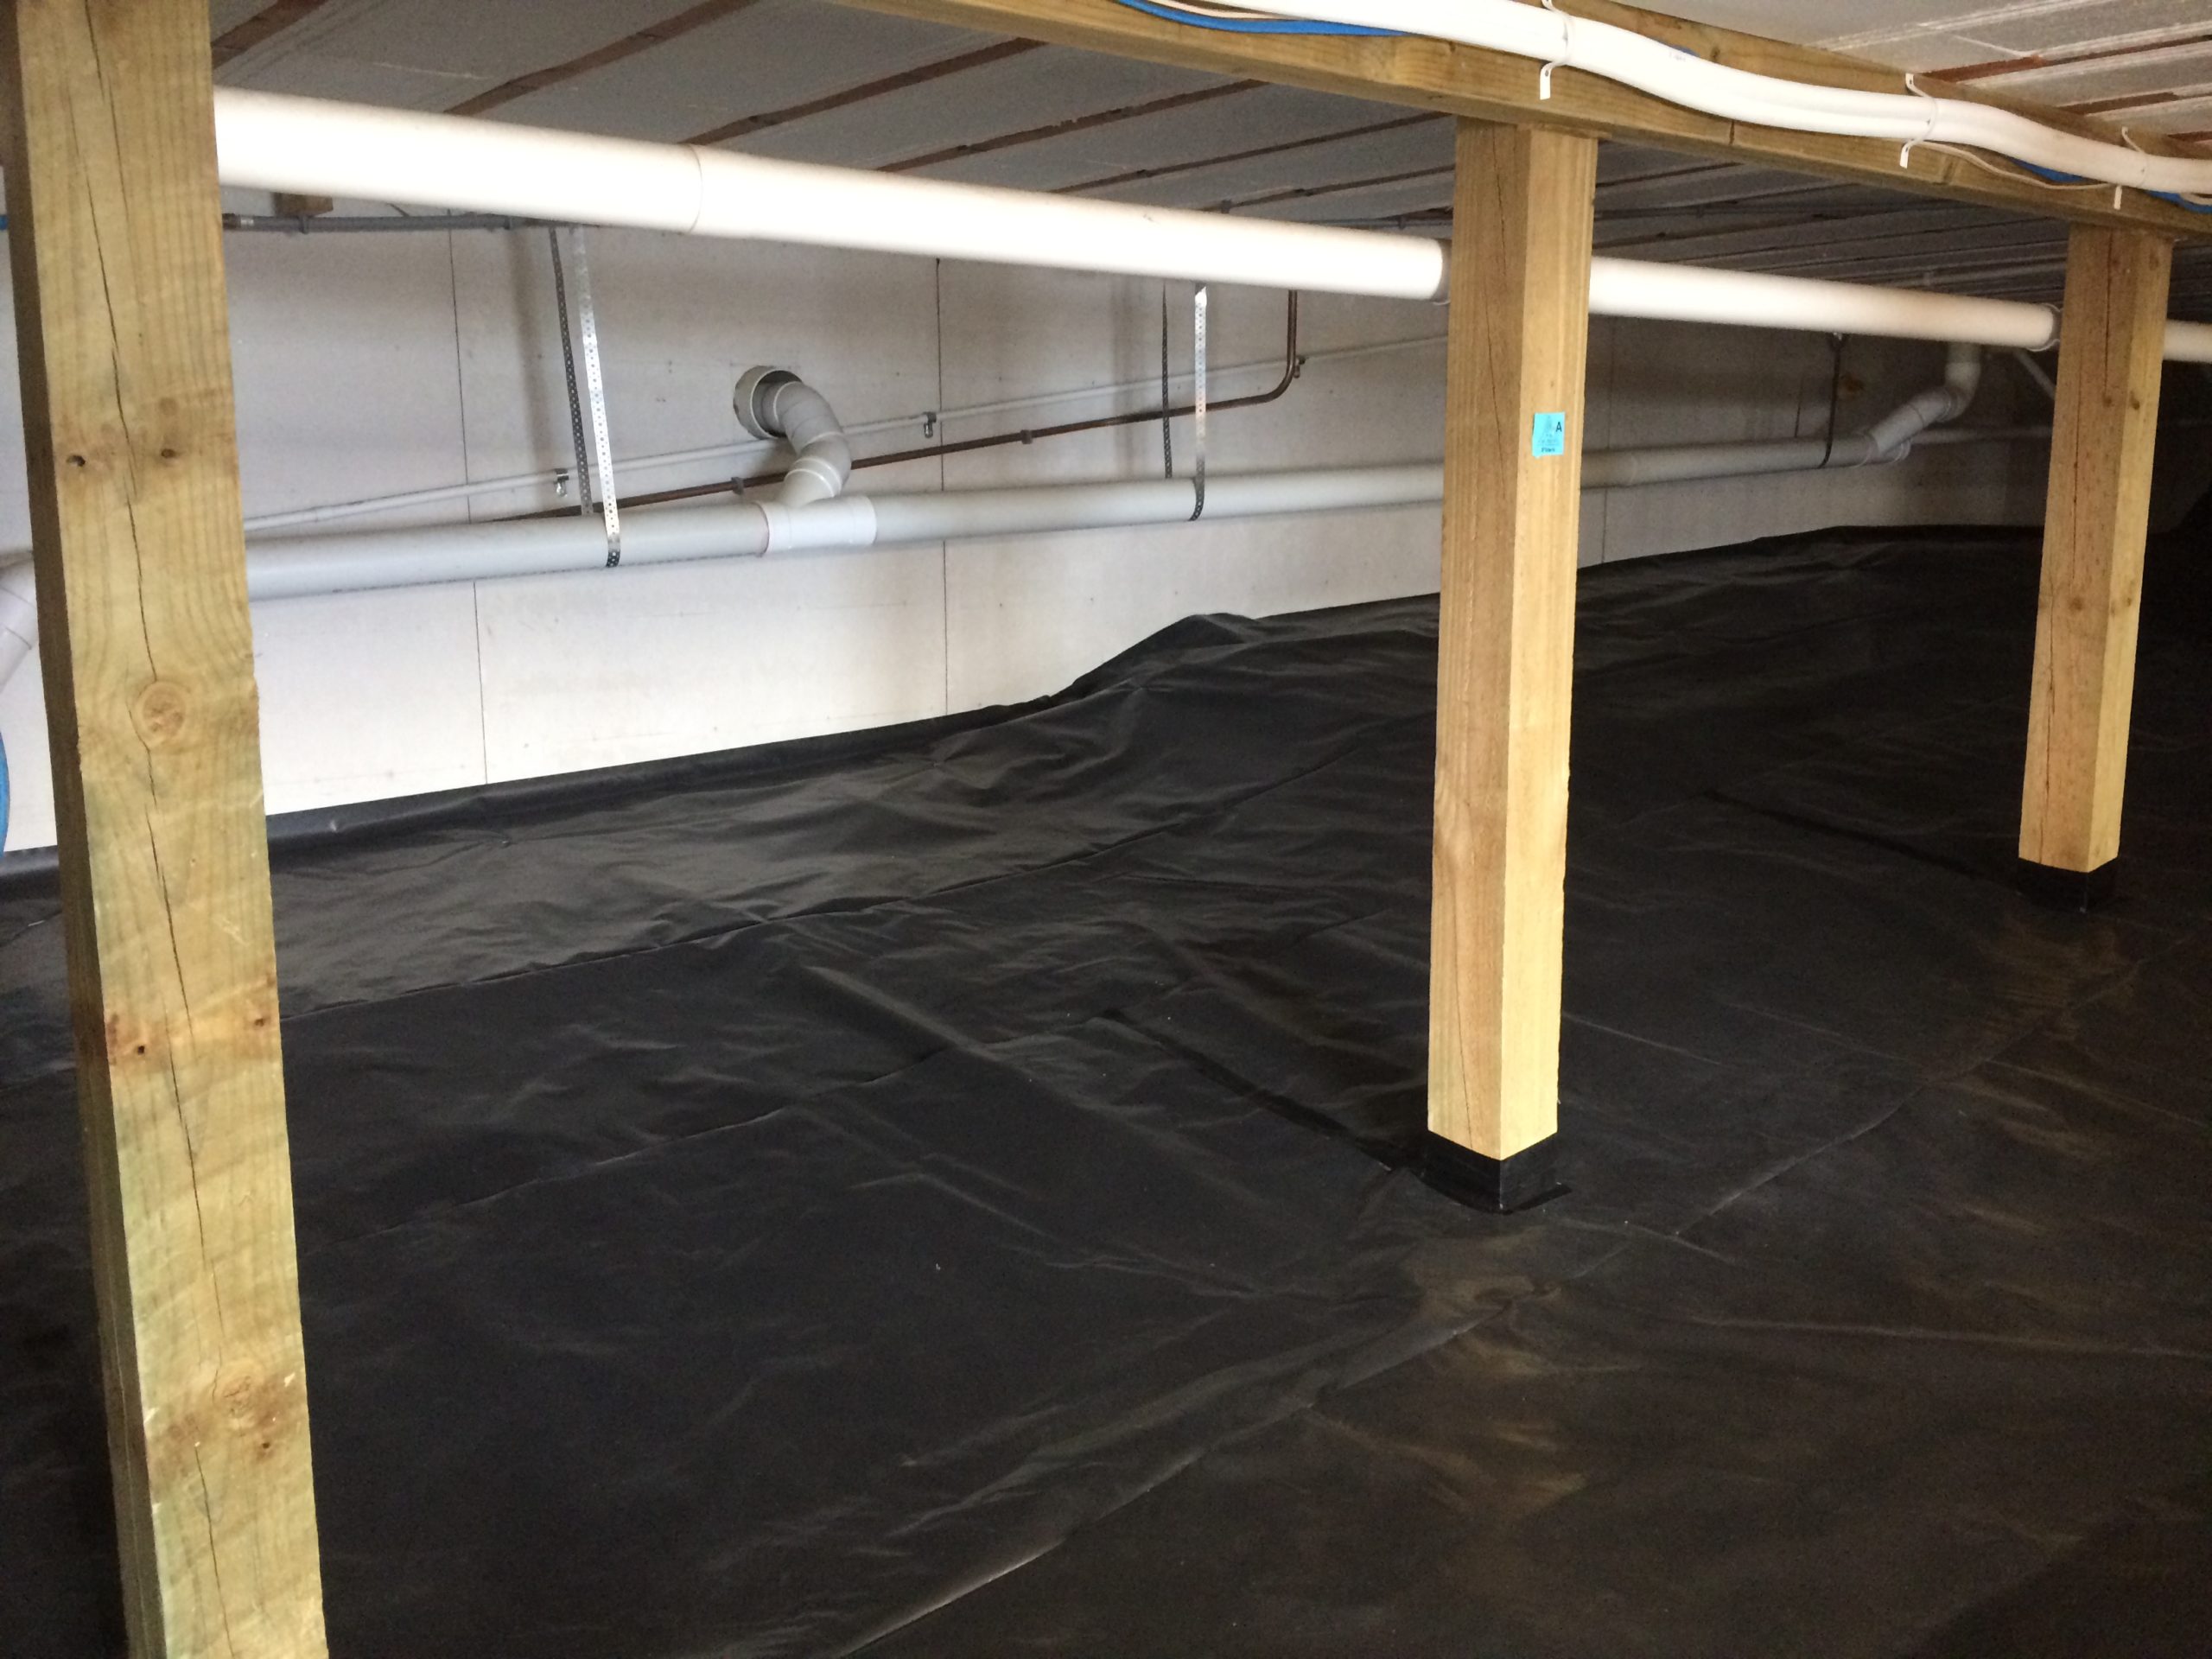
The first row will generally be against an outside foundation wall so position the polythene sheet so that when you unfold it the edge and ends will turn up the outside of the foundation wall a minimum of 50mm. It is a good idea to weight down the edge with bricks, stones or metal pegs to hold it in place and stop it sliding or blowing out of position.
It is important that no surface water from outside the house can flow in and pond on top of the polythene. Ideally modify the ground around the house to prevent this happening, however if that is not possible you need to terminate the edge of the polythene in a way that any water flows under the polythene and not on top of it.
Step four: Taping
Unfold the other flap of the sheet; this edge will now most likely be resting against a row of piles. Carefully slit the polythene at each pile position to allow the sheet to fit around the pile and tape the polythene to the pile.
Now you are ready to install the second sheet. Lay the next sheet so that it laps over the adjacent sheet by at least 150mm. Tape this join with the 50mm wide polythene tape and continue fitting and taping around the piles as described above. Remember to hold down the membrane as necessary.
Annual check
It is a good idea once a year to check the condition of the ground moisture barrier to ensure it is still in good condition, undamaged and none of the tape has let go. Make sure there is no water on top of the polythene, and if there is track down the source and address it immediately.
More information
For further information, contact your nearest Eco Design Advisor, visit our website www.ecodesignadvisor.org.nz or view helpful resources at:
- Smarter Homes (www.smarterhomes.org.nz)
- Level (www.level.org.nz)
- Energy Efficiency and Conservation Authority (www.eeca.govt.nz)
- Building Research Association of New Zealand (www.branz.co.nz)
- Beacon Pathway (www.beaconpathway.co.nz)
- Ministry of Business, Innovation and Employment (www.dbh.govt.nz)